FELIX 3L – A seriously big 3D printer
March 16, 2016FELIXprinters lands in the Middle East & GCC!
June 1, 2016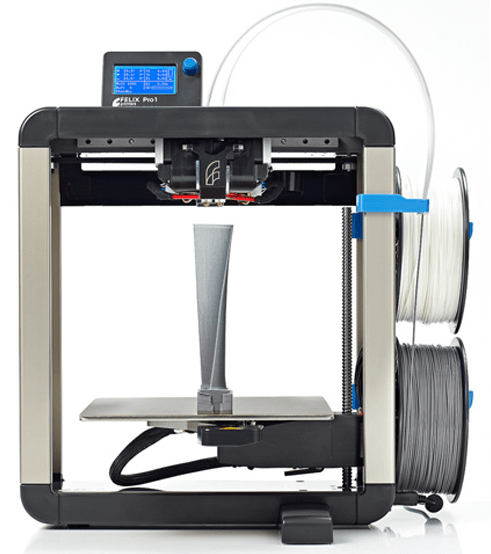
Are you curious to find out how 3D printing works? We have created a video that explains the very basics of 3D printing. If you’re a kind of person that prefers reading instead of watching a video: a written explanation of 3D printing can be found below!
The basics and benefits of 3D printing explained within 90 seconds
The 3D printer
There are several types of 3D printers. The FELIX 3D printers are called FDM printers, which stands for Fused Deposition Modeling printers.
Although that sounds pretty fancy, a FDM 3D printer is (in theory at least!) not a very complicated machine. It basically is a programmable hot-melt glue gun.
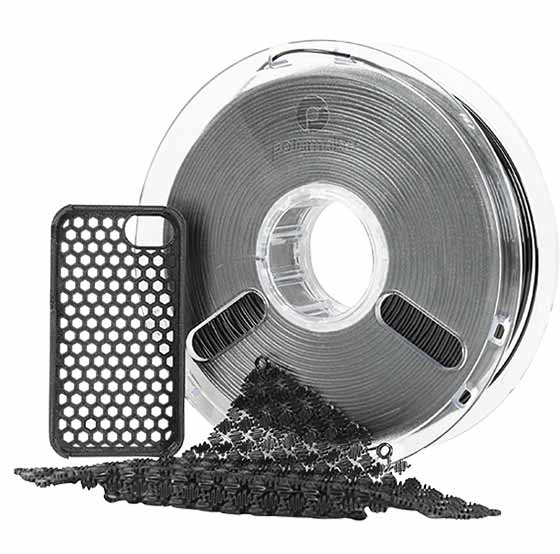
You need to tell the printer where to move the glue gun and how much glue to melt and push out. The glue gun is called extruder. The glue is called filament. Instead of glue sticks, a spool with hundreds of metres of plastic wire on it is used. There are several types of plastic you can use, in several colors.

Pro 1 Extruder
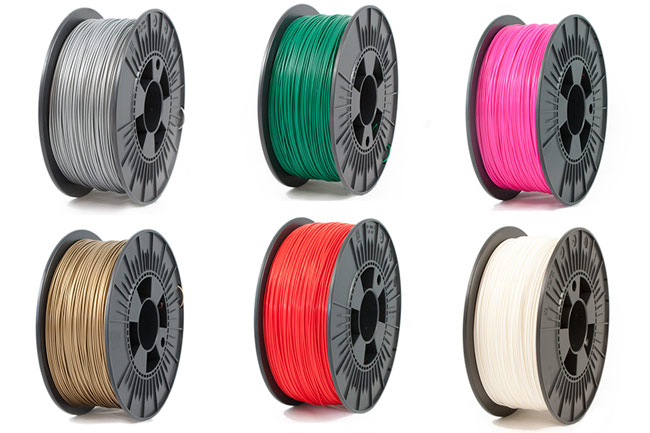
Filament for FELIX
The model
Today there are a lot of ways to design your own 3D models. You can use free programs like SketchUp or Blender. There are also a lot of paid programs to choose from (like Rhino 3D, SolidWorks or Inventor) that are used by designers and engineers all over the world.
If you have no time or desire to design things yourself, you can download 3D models from websites like http://www.thingiverse.com/
So, suppose you have drawn or downloaded a nice 3D model you want to print in plastic. How to proceed?
The slicing program
Most 3D printers do not know what to do with a 3D file.
They only understand so-called “g-code” commands. These commands tell the printer things like where to move the head, how hot the extruder should be and how fast the filament should be pushed through it, stuff like that.
A slicing program (like FelixBuilder or CuraEngine) “translates” a 3D object file to g-code that the printer understands.
Most slicing programs accept 3D models in the STL file format.
With this format a 3D shape is approximated by arranging triangles that define the boundaries of the 3D object. To obtain enough detail on complex objects, sometimes a large amount of triangles is needed.
The slicing program cuts the 3D object into a large number of slices (hence the name). Each slice is analyzed and translated into commands that tell the printer where to move its printing head to put down the plastic material.
The printer builds up a model by starting to put down the bottom slice (also called “layer”) on top of the printer bed, and then putting the next layer on top of the previous layer. Because the extruded plastic is molten, it will be attached tightly to the layer below, if all goes well.
Of course, when you try to position plastic into mid air, the plastic probably won’t stay up there, it will fall down or at least sag down a little. To prevent this, the slicing program can generate a support structure that keeps these “floating” parts where they are. The support structure will have to be removed afterwards. Sadly, the structure can sometimes be difficult to remove and it has no further use.
Slicing programs have a lot of strategies and options to translate the 3D object to g-code that makes the printer move efficiently, generates the best appearance, minimizes support structure size and has easily removable support structures.
The down side of this flexibility is that you, the user, need to make a lot of decisions on what you want. Luckily, most slicing programs come with default settings for several materials that work in a lot of situations.
Feeding the g-code to the printer
A generated g-code file can be directly processed by the Felix printers by putting it on a SD card and inserting the card into the printer.
It is also possible to connect the printer to a PC using the USB connection. You then need a program on the PC that sends the g-code throug the USB port to the printer.
Some slicing programs (like FelixBuilder) are able to send the g-code they generate directly to the printer.
Other solutions, like Repetier-Host, can open a g-code file and send it to the printer. Repetier-Host also has a couple of slicing programs bundled with it, and it can feed STL models to these slicers. Afterwards, it can automatically pick up, visualize and forward the generated g-code from these slicing programs to the printer.
FelixBuilder currently does not have the option of just reading a g-code file and sending it to the printer.
And then we wait!
3D printing is a slow process. If you need a lot of detail, the printer has to move very precisely and you can only use a very small extrusion opening to put down the plastic at exactly the right spot. The stacked layers have to be really thin, so there need to be a lot of them to reach a mentionable height.
The good news is that once a print job is running, you don’t have to watch it all the time (although it probably has a certain therapeutic value to see your printer working so zealousy :).
You can come back after a while to pick up your brand new model.

three dice
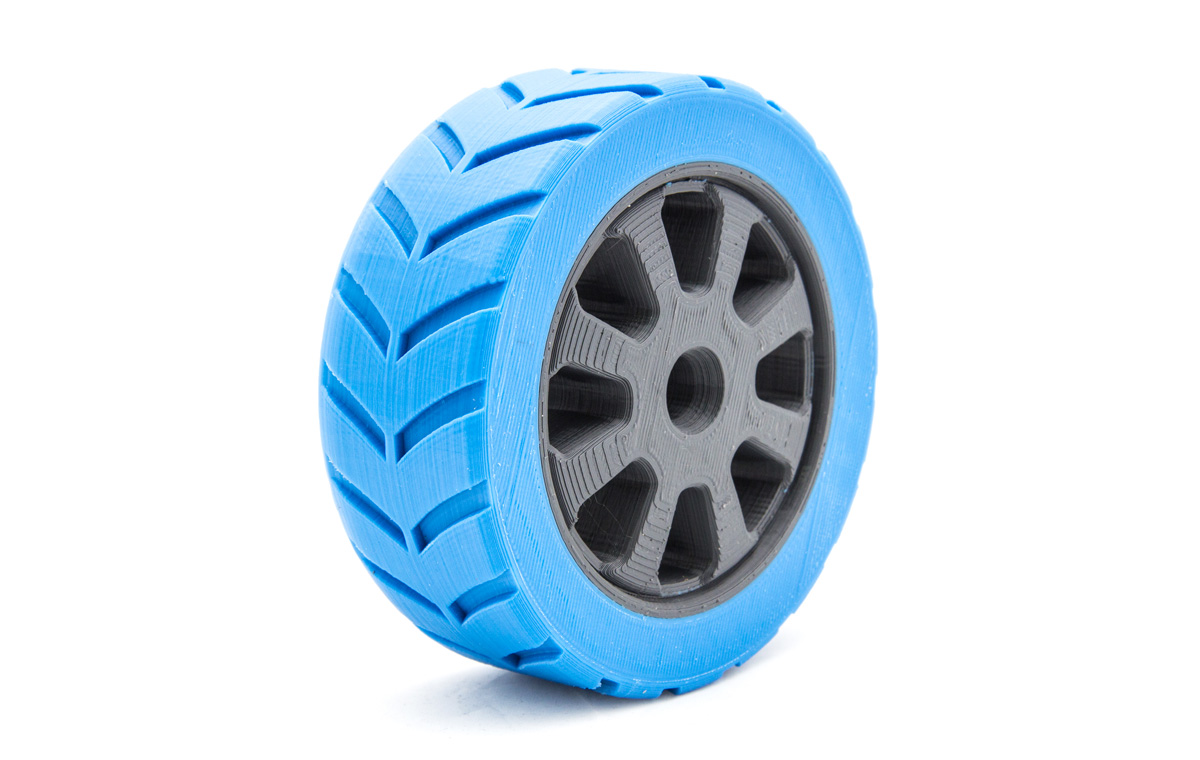
Two coloured tyre
